- TOSIZE.de
- Do it yourself
- DIY Projects
Kitchen / workbench for children from Plywood Interior Poplar, by Steven
Kitchen / workbench for children from Plywood Interior Poplar, by Steven
Create this project yourself with sheet material cut to size by TOSIZE.de!
Steven
Challenging
4 minutes
Description of Steven
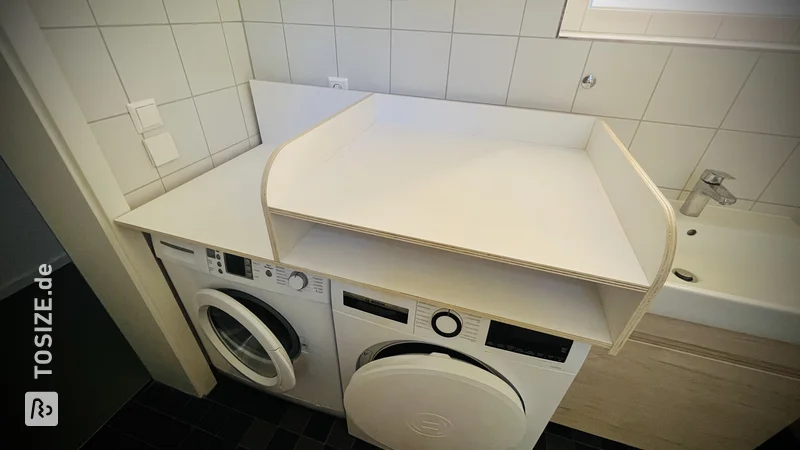
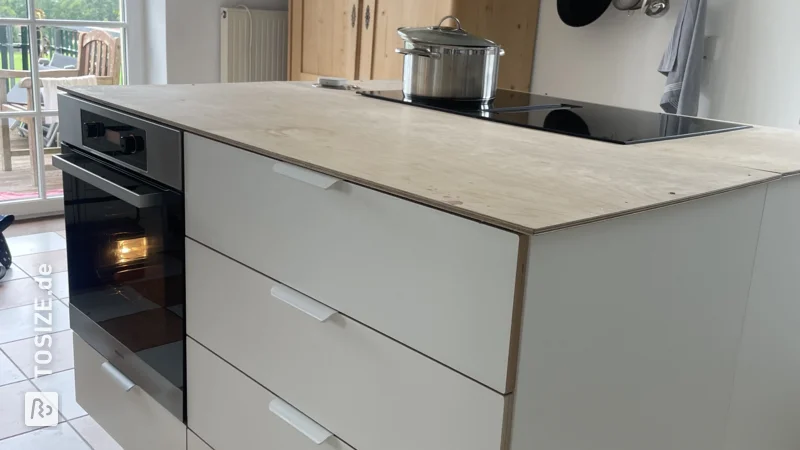
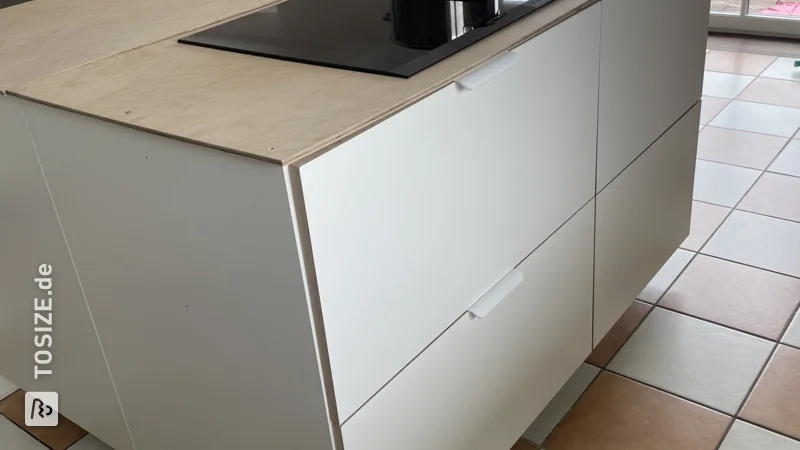
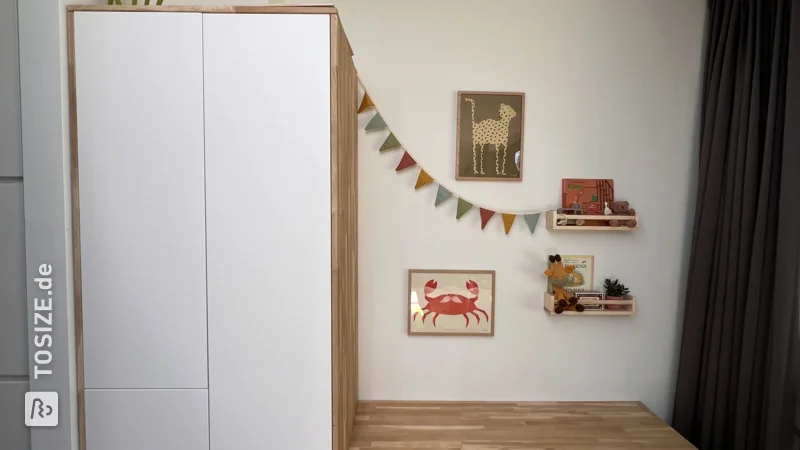
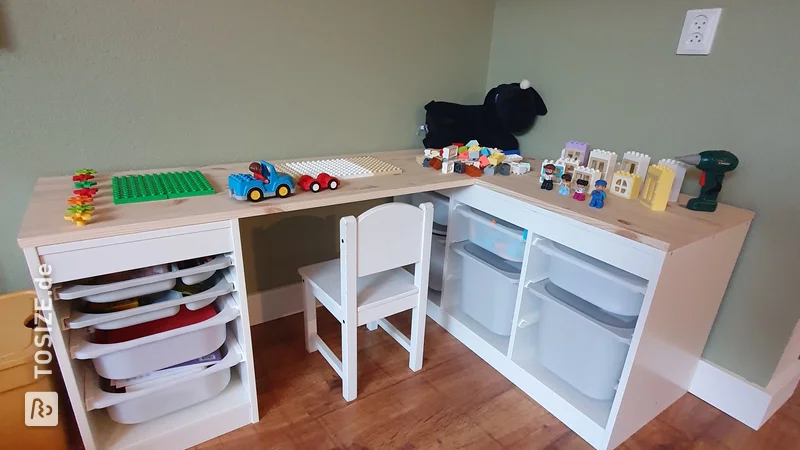
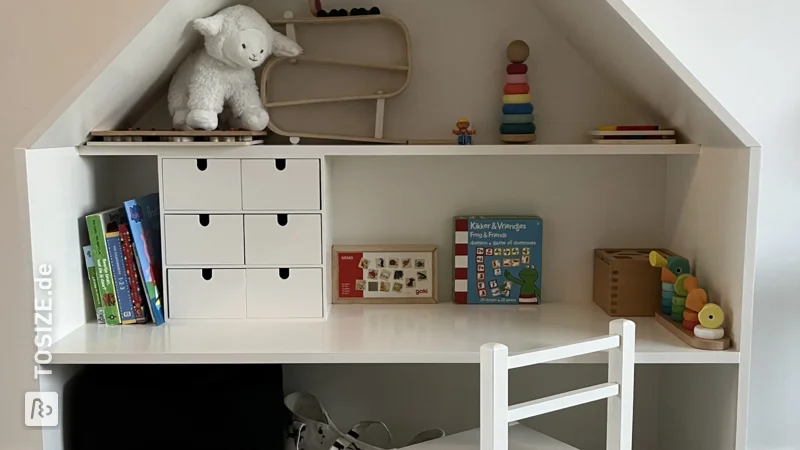
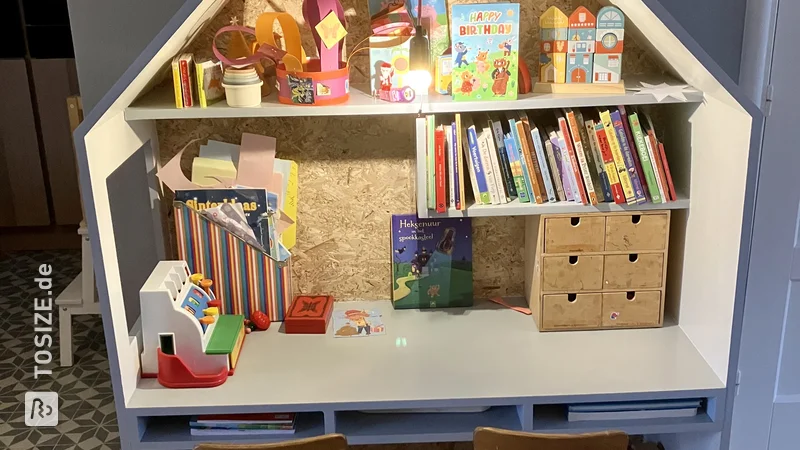
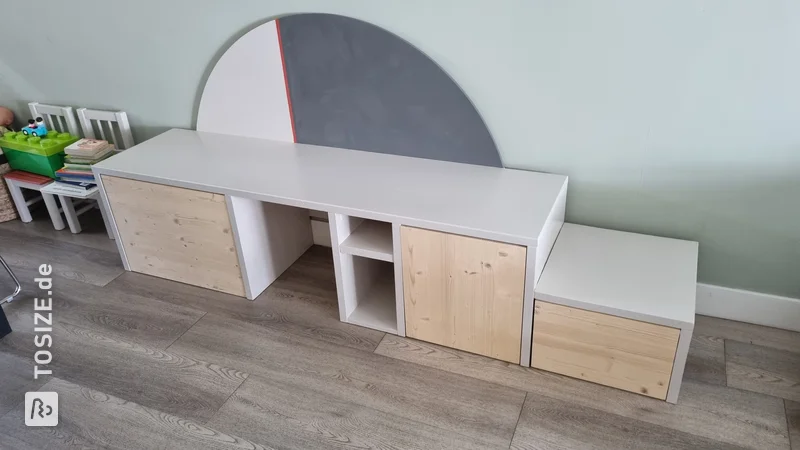
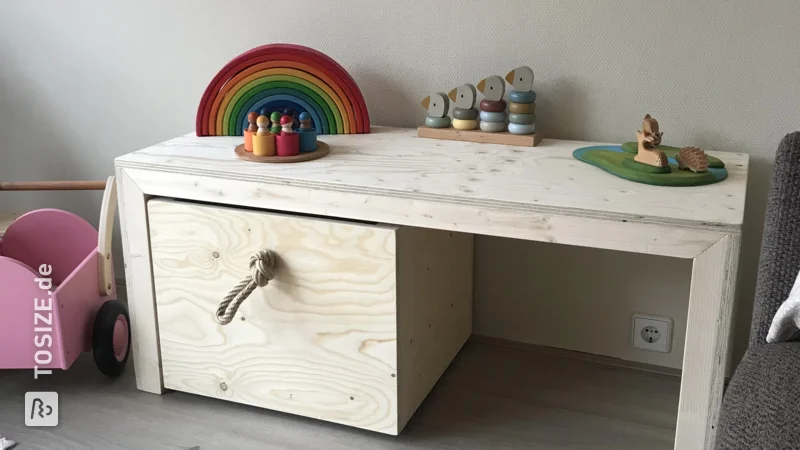
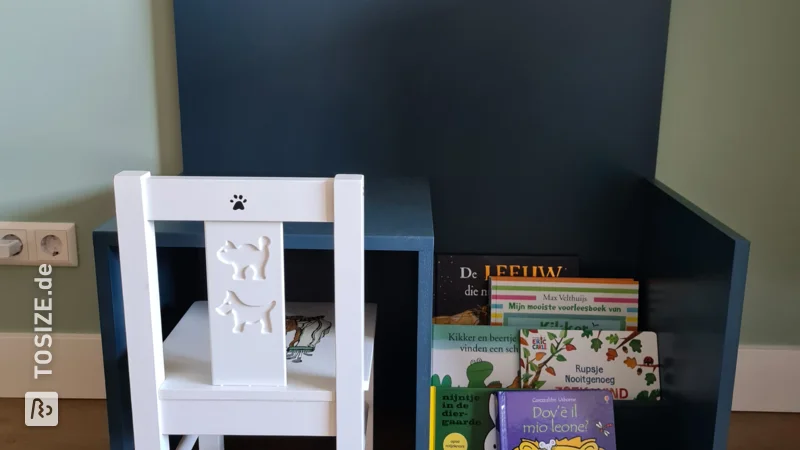
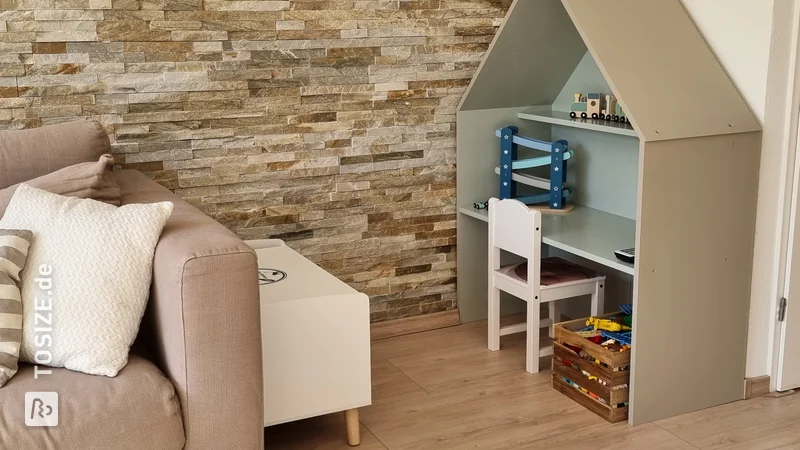
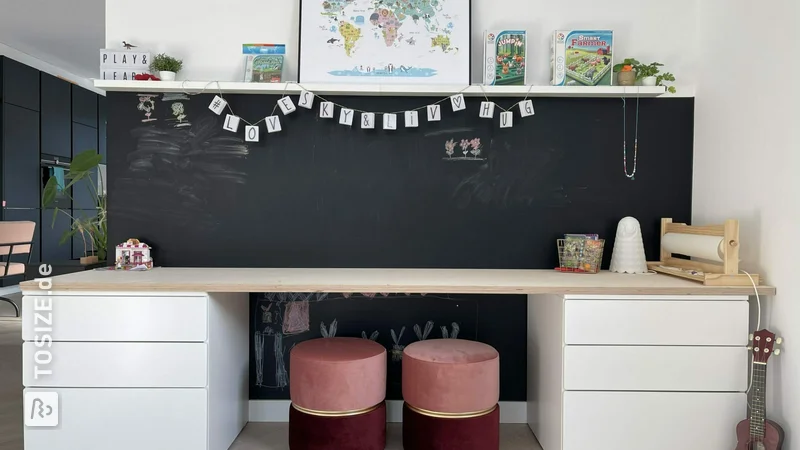
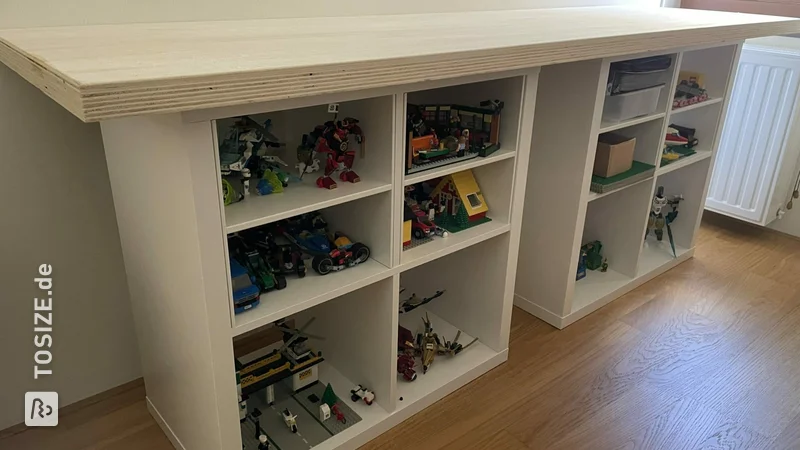
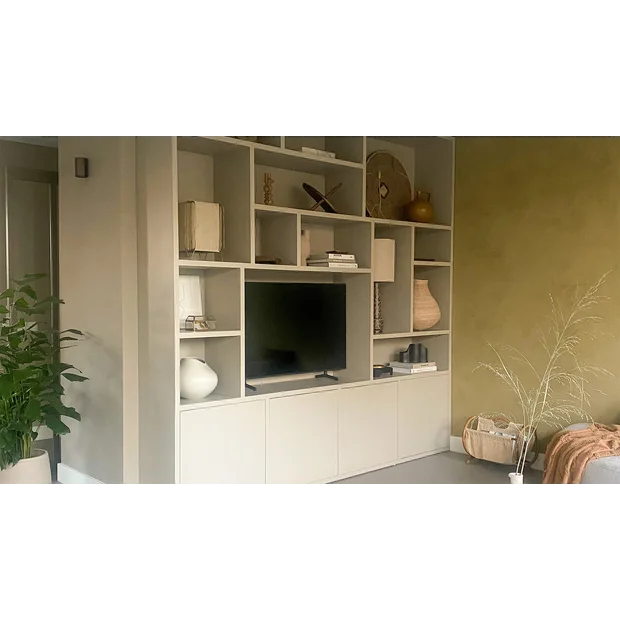
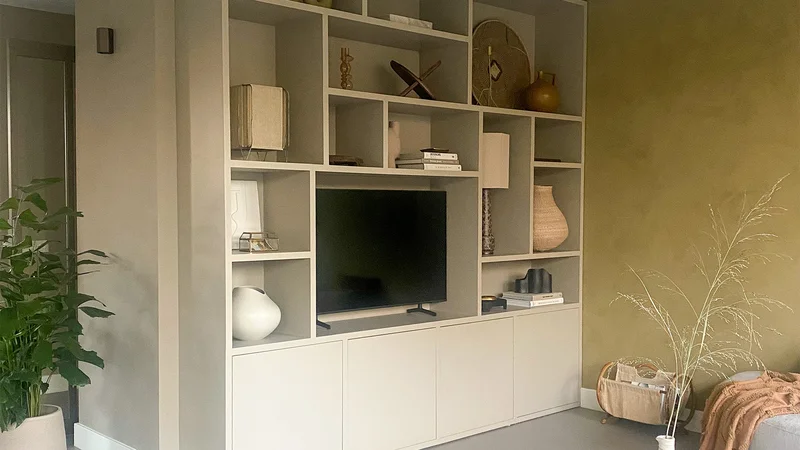
For my son, I made a combination of a play kitchen and a workbench. It can essentially transform because the cooking burners are not permanently fixed but are attached with invisible magnets. This also allows for play possibilities, such as with other magnetic toys. Additionally, there are holes in the back panel where he can screw in screws from his toolbox, the control knobs can spin freely, and the door has soft-close hinges so fingers don't get pinched easily. As a bonus, the back side is coated with chalkboard paint, so he can draw with chalk if he likes.
How I Made This Project
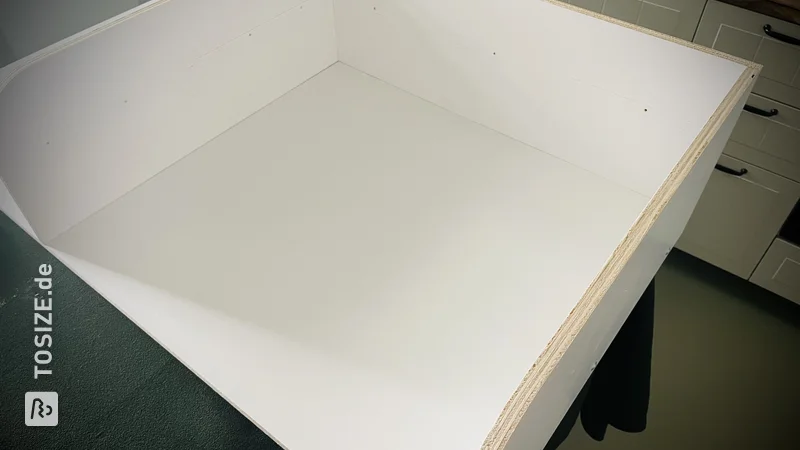
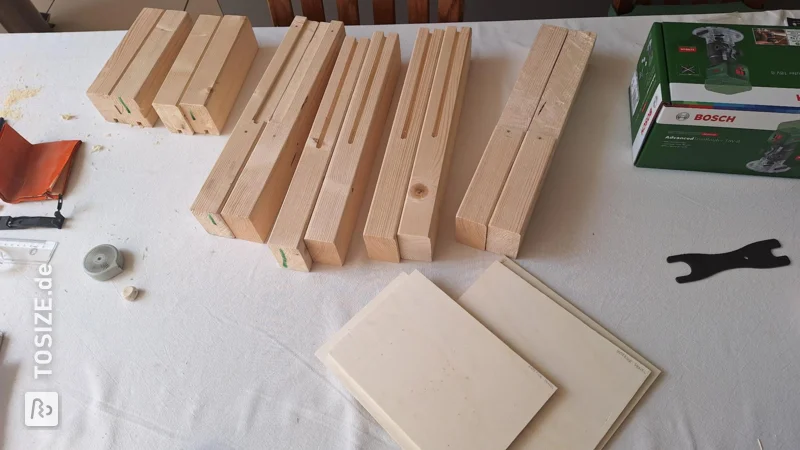
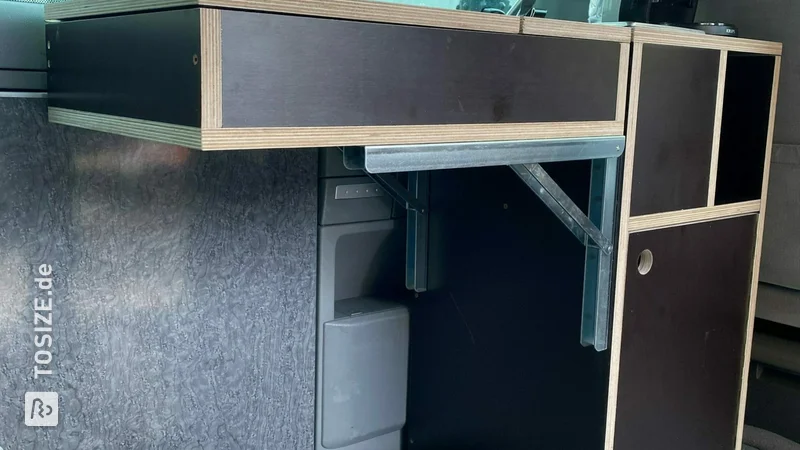
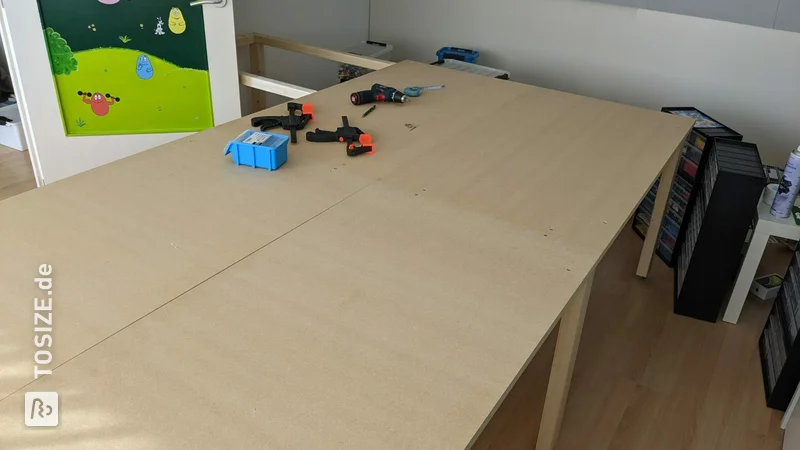
# Step 1: Measurements & Drawing First, I researched what the standard or appropriate measurements for children are. I wanted to consider the standing height for the work surface and ensure that the back wall remains accessible. I ultimately chose a work surface height of 57 cm. It can be adjusted later by adding longer legs (currently 12 cm). I initially designed everything in SketchUp (see drawings) to discover the correct measurements and proportions. # Step 2. Cutting Details, Dowels & Dry Fitting I first sawed out the notches and curves from the back panel. Then, I pre-drilled holes for dowels (using a dowel jig) and assembled everything first with dowels, but without glue. This allowed me to see if everything fit. I also rounded the control knobs and burners with a jigsaw (since I could only order these dimensions square and not round) and then sanded them. I also sanded the remaining parts. # Step 3. Gluing When I was happy with the dry fit, I took everything apart. Then I applied wood glue to all the necessary parts and reassembled it. I then secured it with pieces of scrap wood (to avoid damaging the work) and clamps and let it dry. I later fixed the work surface only with dowels (without glue). I may want to access it in the future, e.g., for the magnets. The dowels hold very well already, so glue is not needed here. # Step 4. Magnets To install the magnets invisibly, I used strong magnets and a Forstner bit for the 'flat' holes. First, I tested the drill and necessary depth for the magnets on a scrap piece. The trick was to drill deep enough so that the magnets stick on the other side but do not go all the way through the material. I ultimately drilled 8 holes (2 rows of 4) at the bottom of the work surface so that the burners can be fixed at eight points. This is for play and also allows for adding or creating other magnetic items. I fixed the magnets in each hole with a strong glue. The same applies to the burners, but with much flatter magnets and holes. They are not very strong on their own but stick well to the thick/strong magnets in the work surface. # Step 5. Pre-drilling Using a similar Forstner bit as for the magnets, I pre-drilled the hinge holes. I also pre-drilled the holes for the shelf brackets. # Step 6. Painting & Varnishing Now I could paint the whole thing. I chose a color called 'Criterium' (at Praxis). I taped some edges and later varnished them with a transparent matte varnish. I also painted the remaining wooden parts, such as the control knobs, burners, and legs, with the same varnish. This gives a nice combination between the material and the chosen paint color. # Step 7. Drill Holes for Controls & Back Panel To achieve clean, neat holes (otherwise, you would need to mask or paint the holes), I drilled and varnished the holes for the back panel and the front only after painting. Using a scrap piece of wood clamped on, I made sure the holes did not become larger than desired or splinter. # Step 8. Assembly After painting, I screwed the legs underneath, mounted the door, and added the shelf with the brackets. Set up with toys: the kitchen utensils & toolbox, and done!
Dimensions of My DIY Project
Height: 92 cm Width: 70 cm Depth: 42 cm
Tip! Also check out our handy DIY tips!
What now?
Want to make this DIY project? Check out Steven's saw list and complete your order easily.
175,69 €
View all sheet materials