- TOSIZE.de
- Do it yourself
- DIY Projects
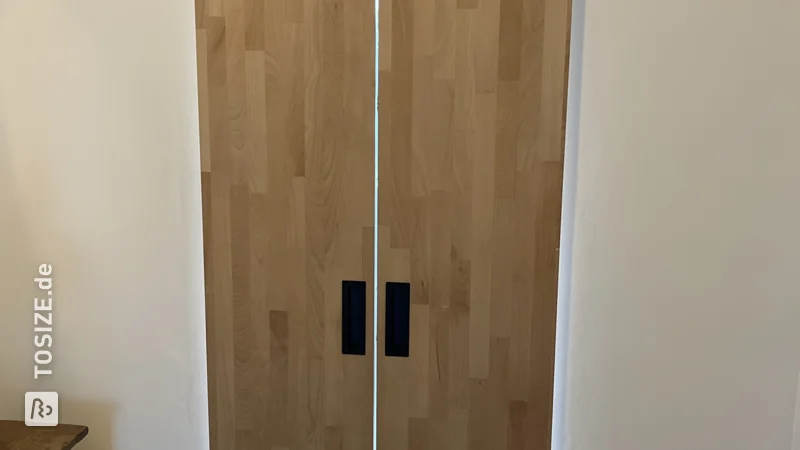
Opening garage doors made of concreteplex hardwood, by Vincent


Create this project yourself with sheet material cut to size by TOSIZE.de!
Vincent
Above average
3 minutes
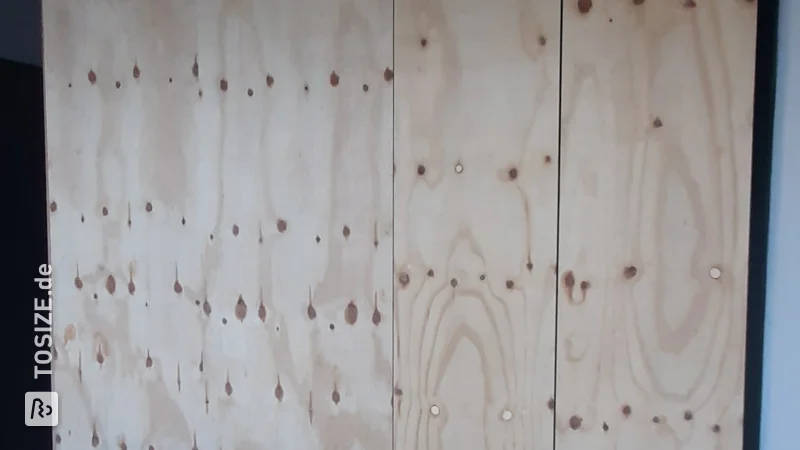
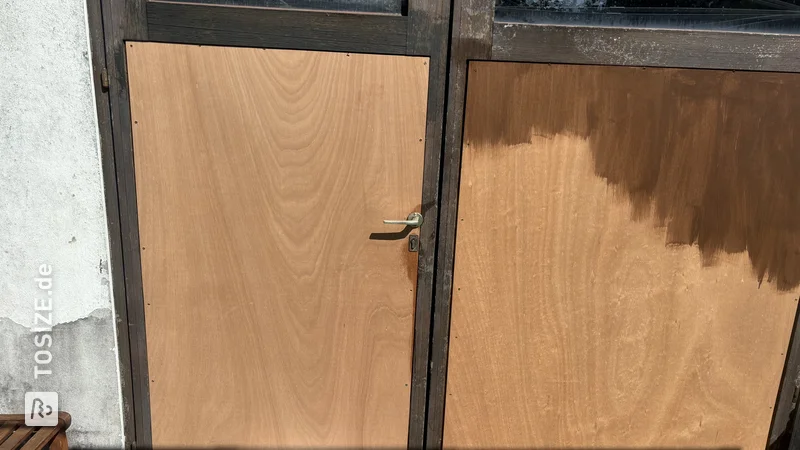
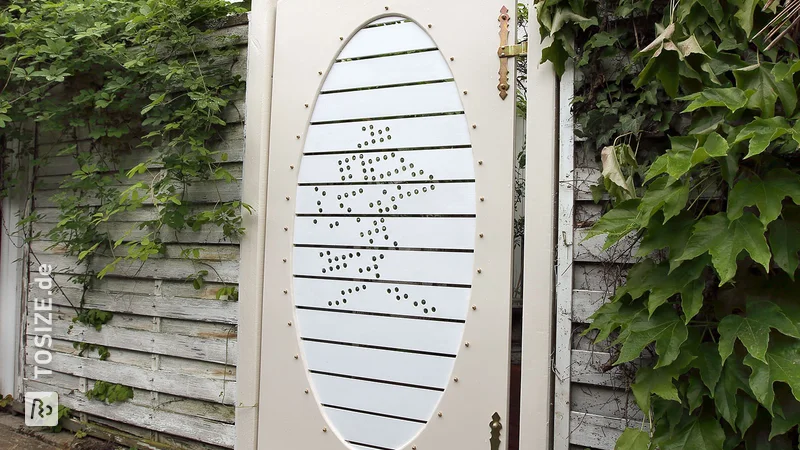
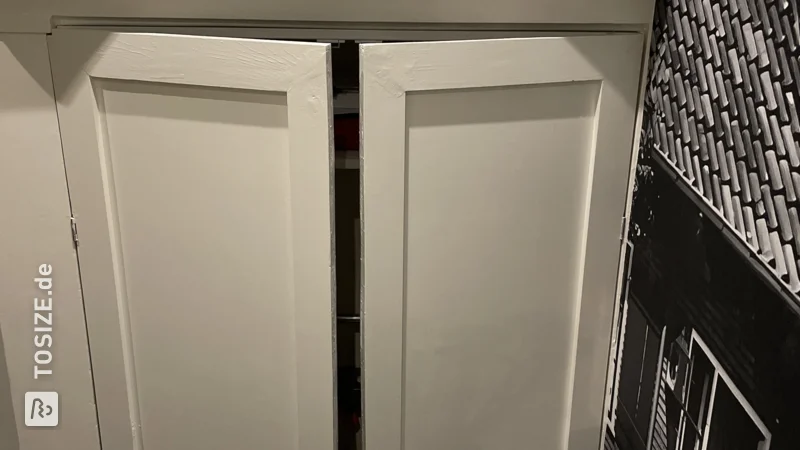
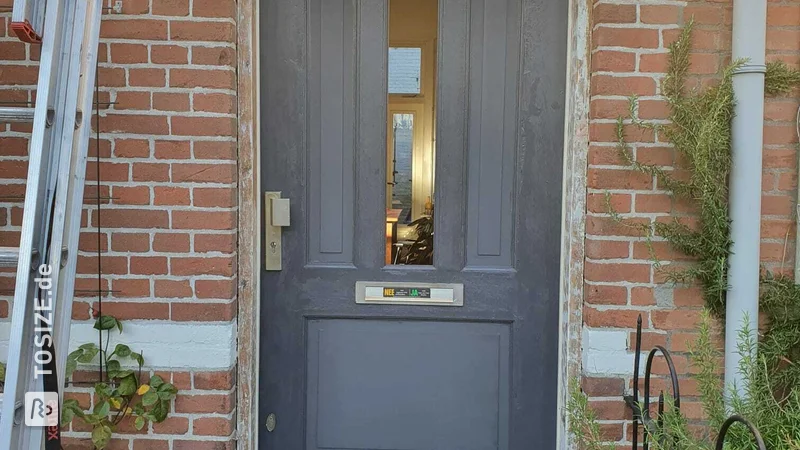
The patio doors of our garage suffered from wood rot. After an attempt a few years ago to fix them, they really needed to be replaced. After a search on the internet, we decided to use waterproof glued, hardwood concrete plywood of 18 mm thick for the front of the doors. Behind this we place struts of 32 mm thick spruce wood for strength. The result: Weather-resistant, strong garage doors made of plywood hardwood. TOSIZE.co.uk came into the picture for the delivery of the betonplex hardhout for our doors. They can deliver the desired thickness of 18 mm with a hardwood core, which is not possible at many large hardware stores. Much of the plywood on offer has a poplar wood core. This is of course much softer wood and is therefore more sensitive to wood rot.
The end result
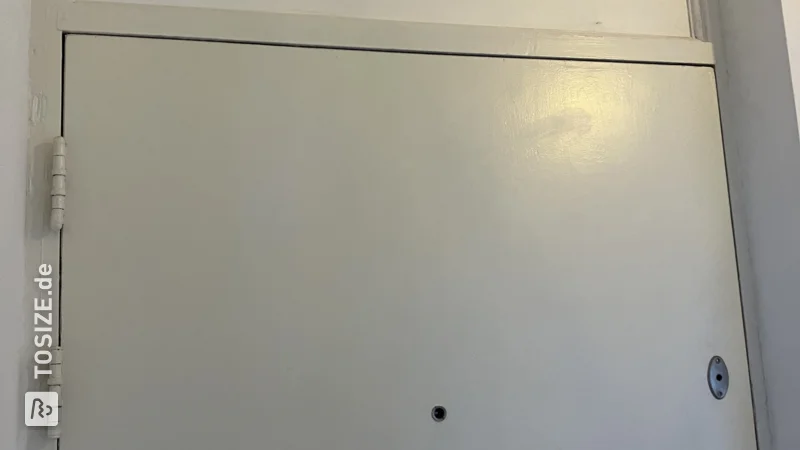
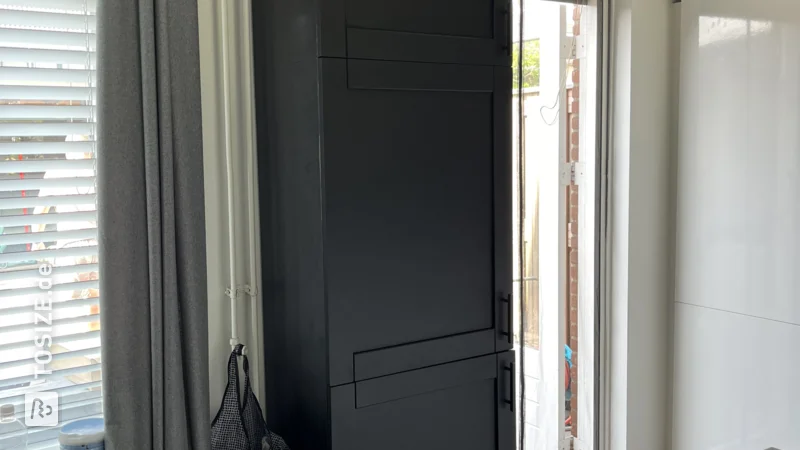
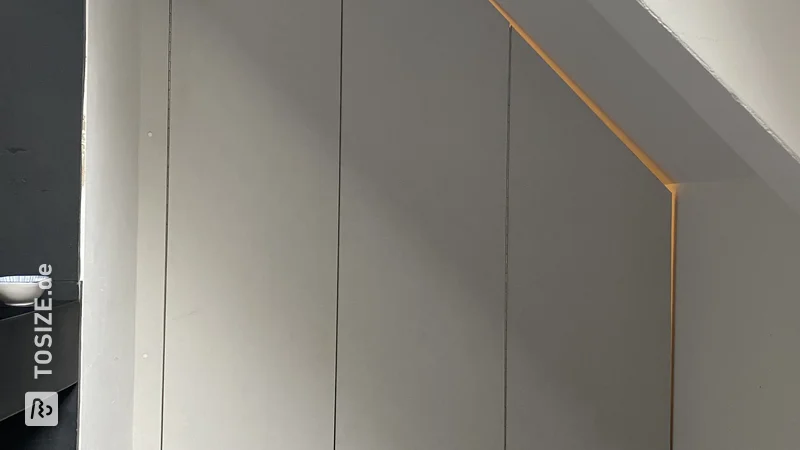
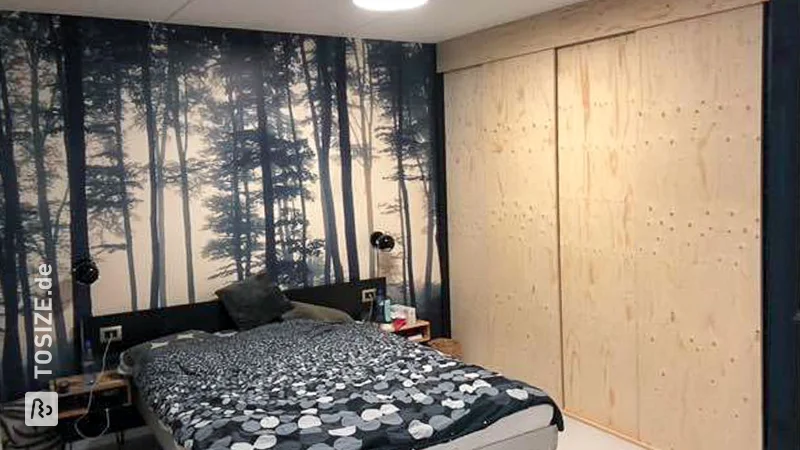
Sturdy and strong garage doors made of plywood hardwood that will hopefully last for years! The attached photos give a good idea of the job. Below a small explanation per photo.Photo 3: measuring
First we measured the panels. TOSIZE.co.uk lives up to its name here, all panels were sawn to the millimeter! At the sawmills of large hardware stores, a few millimeters of deviation can sometimes arise. With doors you want to keep the cracks as narrow as possible, so cutting accurately to size is very important.Photo 4: strengthen
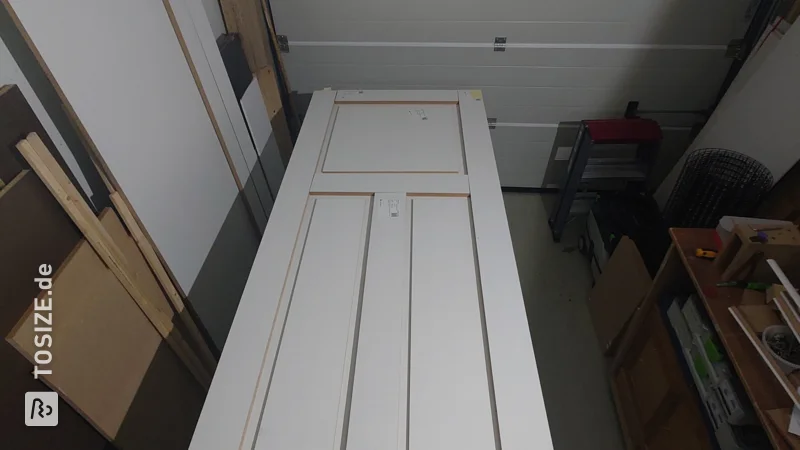
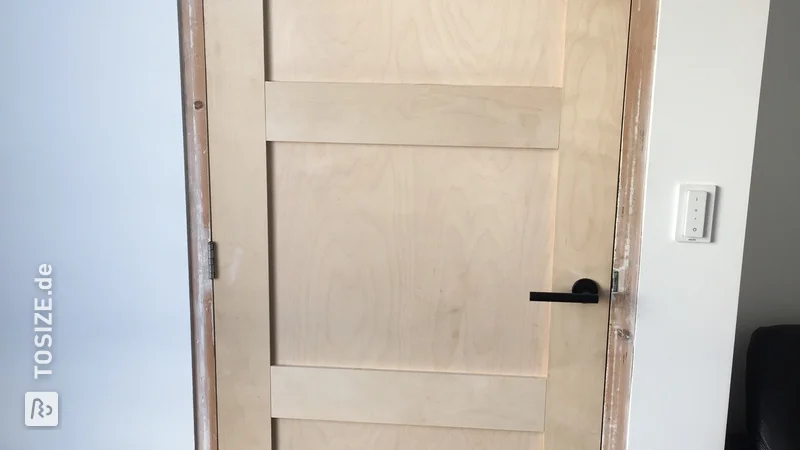
Subsequently, the plywood hardwood plates were reinforced with spruce struts. The total thickness of the doors is thus brought to 50 mm. This also provides sufficient possibilities to properly assemble the hinges and locks.Photo 5: the edges
The edges of the concrete plywood have been treated with a special edge sealer. This protects them against moisture and thus wood rot.Photo 6: Depend
The first door is hung. A plastic profile has been applied to the underside as extra protection against dirt, moisture and damage.Photo 7: mount locks
Then the recesses for the lock were milled / drilled out.Photo 8: Paint plywood
The second door is now also hanging. You can easily paint over plywood. For this you have to sand the existing brown coating well, degrease with thinner and pre-treat with a multiprimer.Photo 9: topcoat
Finally, the doors are painted with two layers of scratch-resistant exterior paint.Experience with CUTTING SAWS
The plates were delivered exactly on the agreed day / time slot. Very handy that you do not have to travel with a trailer yourself.Tip! Also check out our handy DIY tips!
What now?
Want to make this DIY project? Check out Vincent's saw list and complete your order easily.
424,80 €
All materials used
View all sheet materials

